
All the inking and coloring is done with a blend of Altenew inks (trees and shrine), Distress Inks (sky), Stampin' Up (grass), and Copics (koi pond and cats). I also used a cloud stencil for the sky.
The inside was trickier and way more time consuming. I love making interactive cards. My favorite is a shaker, but I didn't really want to make that. In thinking about Chinese elements I thought, "wouldn't it be cool if I could put a pop-up Chinese takeout box in the center." I remembered that I have an Origami Owl container that looks exactly like that. I got it and was delighted to find that it came appreciate in one piece. I thought "Awesome!!!! I can trace it, cut it out, and I'll have my element." So I did that. I cut the bottom out so that it would collapse and did all the folding. It was very thick on the sides. I didn't like it. I cut it apart so that I would have only one layer of each triangular piece instead of two. Much better. Plus I could angle it to look more like a container.

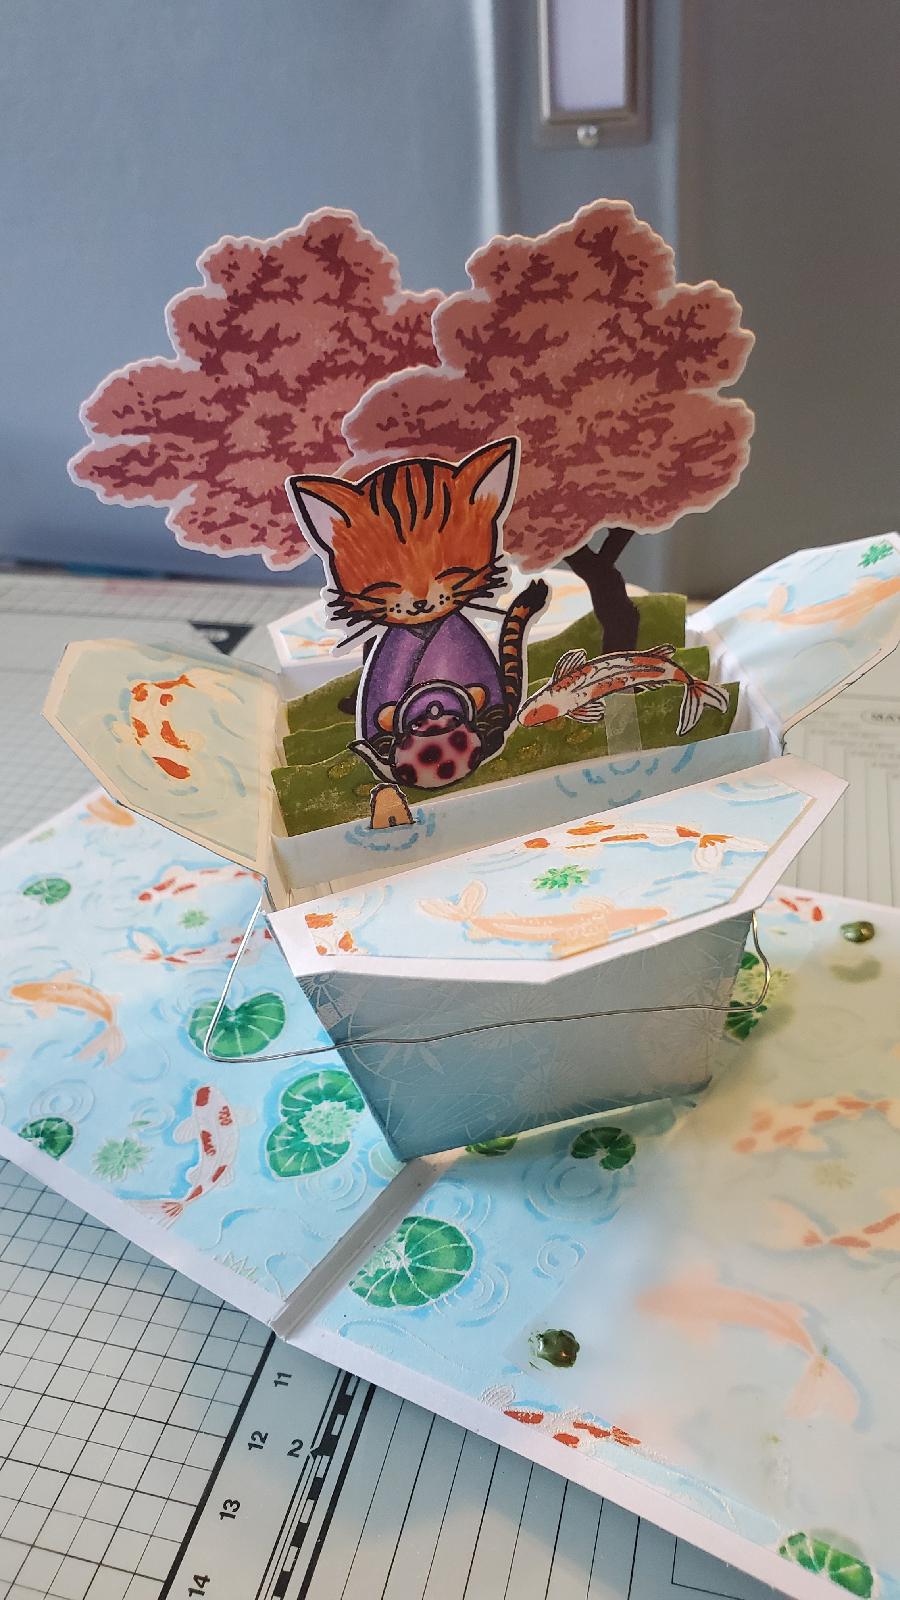
I made templates so that I can do this again. I'm sure there's probably a die or there somewhere, but I have no idea where and I didn't have one available to use. This was a fun experience anyway and I am very proud of myself. I made it to big for a scene, but all I have to do is shrink down my templates on my copier and I should be good for another go around. Originally, the plan was to do "noodles" and chopsticks, but I couldn't figure out a good way to do noodles. After I got it put together I glued pieces to it so that it would attach to the card base. I put pieces inside to make it like a box card. It is decorated using the March add on background stamp Parasol Pattern Bold Print with the koi pond on the flaps to go with the scene. I did white heat embossing and colored it with Tumbled Glass and Broken China Distrss inks. To hide the attaching arms I stamped two panels with the add-on Koi Pond Bold Patterns. Again, I white embossed but colored with Copics. I cut slits where the arms would come up though and carefully inserted the arms and glued them down. I could then glue down the panel. A little of the arm showed on one side, but coloring it to match the water made it unnoticeable. The kittens and coordinating dies are also add ons and are called Kittens in Kimonos.
I didn't want to hide my fish so my sentiment went onto vellum. I tried to use Nuvo drops on the corners to hide adhesive but it was so thick that I had trouble with it. I'm going to have to contact the company to see what I can do. This post is long so I will end with the pictures. I like it. I hope you do too. The box scene is finished by using markers and a light pad to create backs to the front of everything so that it would look good from any angle. I attached the jumping fish on a small piece of acetate and inserted another fish to make it look like he was peeking out of the water.


I am entering this in this months Hero Arts challenge "Make A Scene" over on their blog
Also: https://showusyourpussies.blogspot.com/2020/06/show-us-your-pussycats-challenge-55.html?m=1 for their monthly challenge.
http://cutitupchallenges.blogspot.com/2020/06/challenge-202-perfect-pet.html?m=1 for their perfect pet challenge
Wonderful card, super design and I love the cute kitties.
ReplyDelete